Happy summer everyone!
I am back with the sweetest of news: I have a free quilt pattern and *love* is in the air!
First things first: my husband and I tied the knot earlier this month and we are officially a blended family with four kids! It absolutely could not have gone better and living together after four years of dating, I feel like the luckiest lady every day.
I feel like I want you to celebrate with us so here's our dance playlist on Spotify for when you need a musical energy boost! And our DJ also made a short video of the big day, which was so nice of him.
OK but this IS a quilting blog so let's get to the quilting...
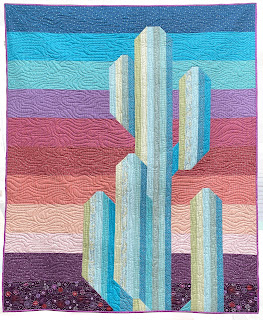
Saguaro fabric is getting out in the world, hooray! I did a fun Facebook Live with local quilt shop Montavilla Sewing Center about the background of this collection. (They are a great place to call and order yardage from if you need some Saguaro in your life!).
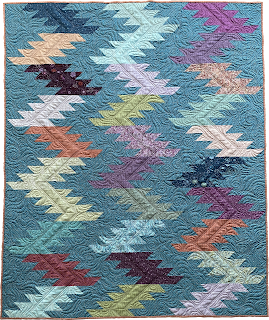
And there's a free pattern to share! Maywood Studio and I have collaborated on this baby size quilt pattern that uses a charm pack. I named it Sonoran Star and you can download the free pattern here: Sonoran Star Free Quilt Pattern
Also Missouri Star Quilt Company recently used this pattern and fabric for a tutorial video! You can check that out here: Sonoran Star Tutorial
There are still some precuts in the shop if you didn't get in on my preorder. Every fabric order will be sent with one of my little Saguaro fabric stickers!
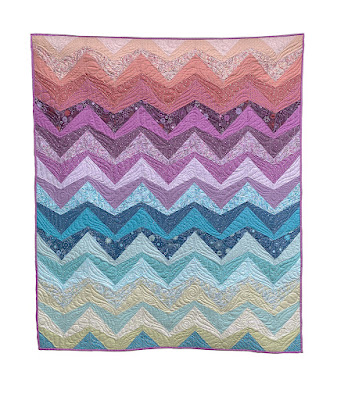
And speaking of precuts, Missouri Star is on a roll - a strip roll! They use a roll of Saguaro in their Lakeview Terrace Quilt, see the video tutorial here.
So that's all the links I can send you to for now! I'll try to get back later this week with a full roundup of the Saguaro patterns I've published too, as all the patterns are now available digitally in my shop!